-40%
Pruftechnik Vibcode VIB 8.690 or 8.685 Vibration Measure Point Stud Bonded 25x
$ 79.2
- Description
- Size Guide
Description
Pruftechnik Vibcode VIB 8.690 or VIB 8.685 Vibration Measure Points 5/16" Stud or Bonded 25-Pcs. NEW!!*********************************** FREE SHIPPING!! *********************************************
This is a set of TWENTY FIVE (25)
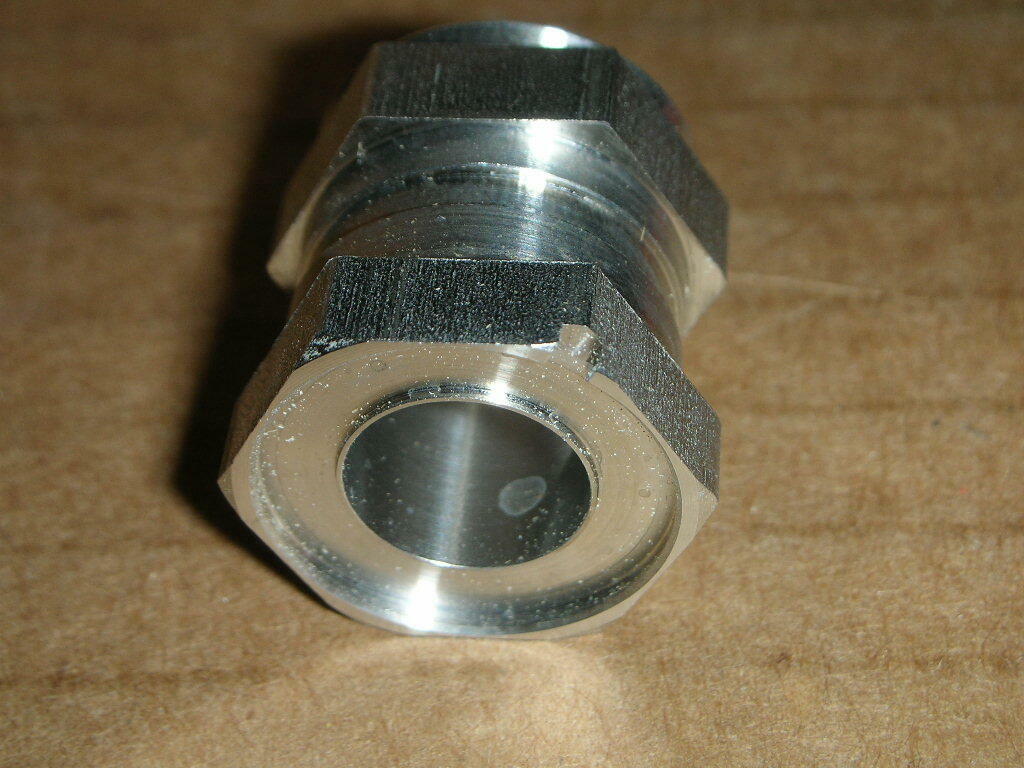
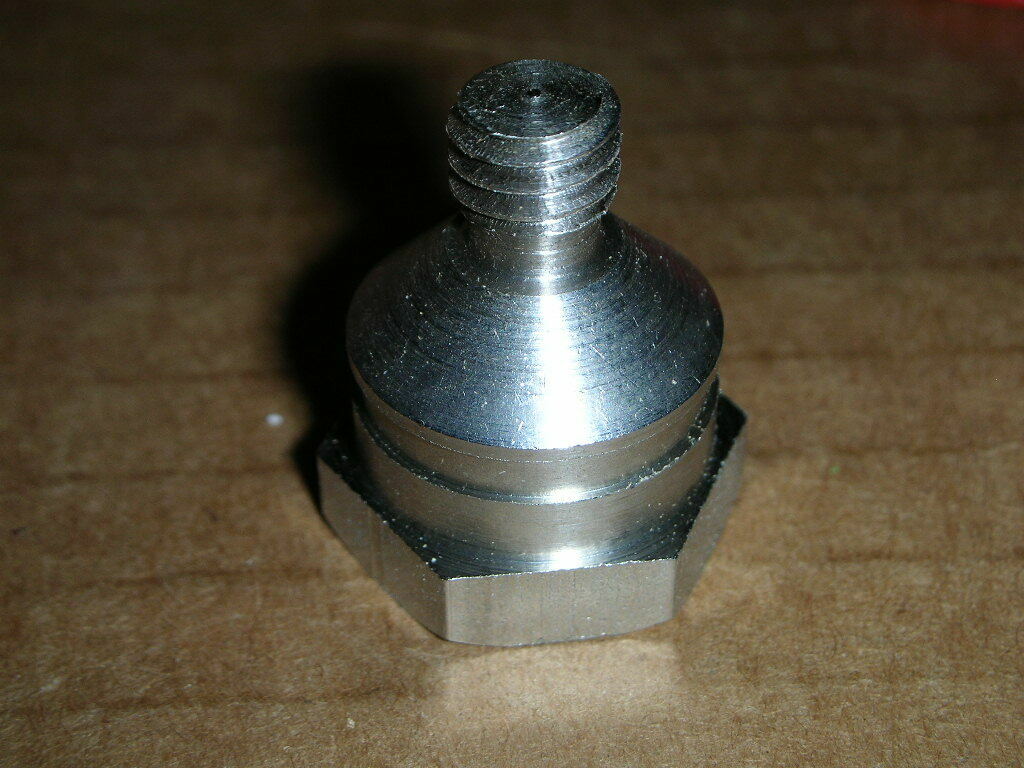
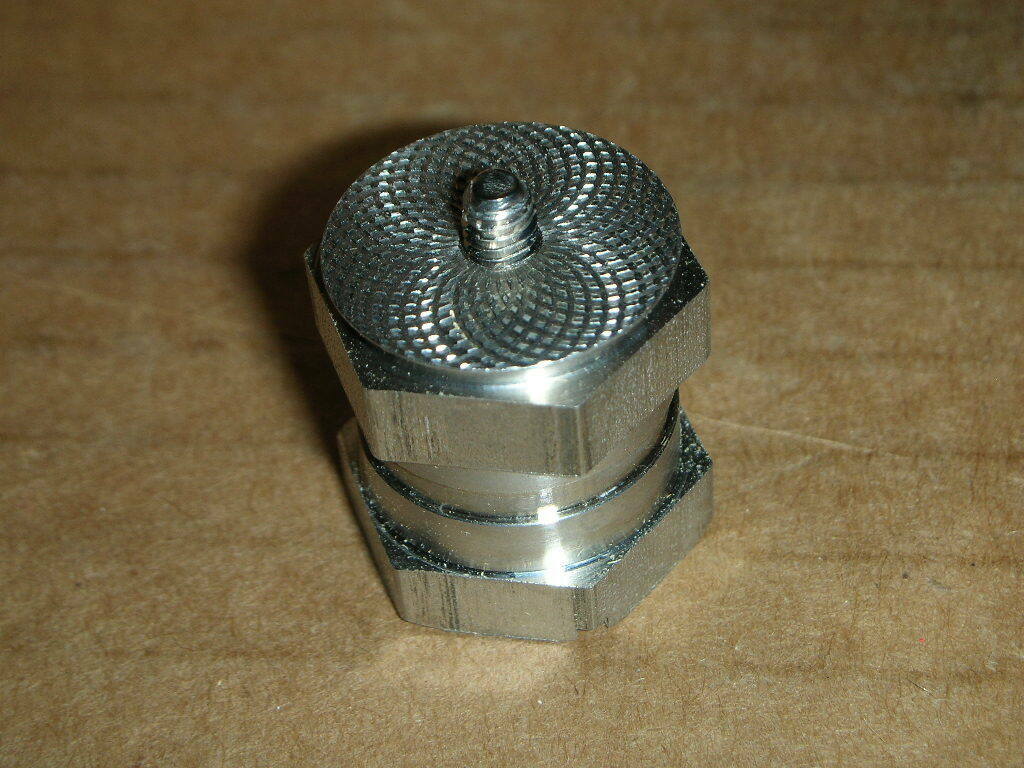
Vibration Mounting/Measuring Points for Condition Monitoring
(1-Box).
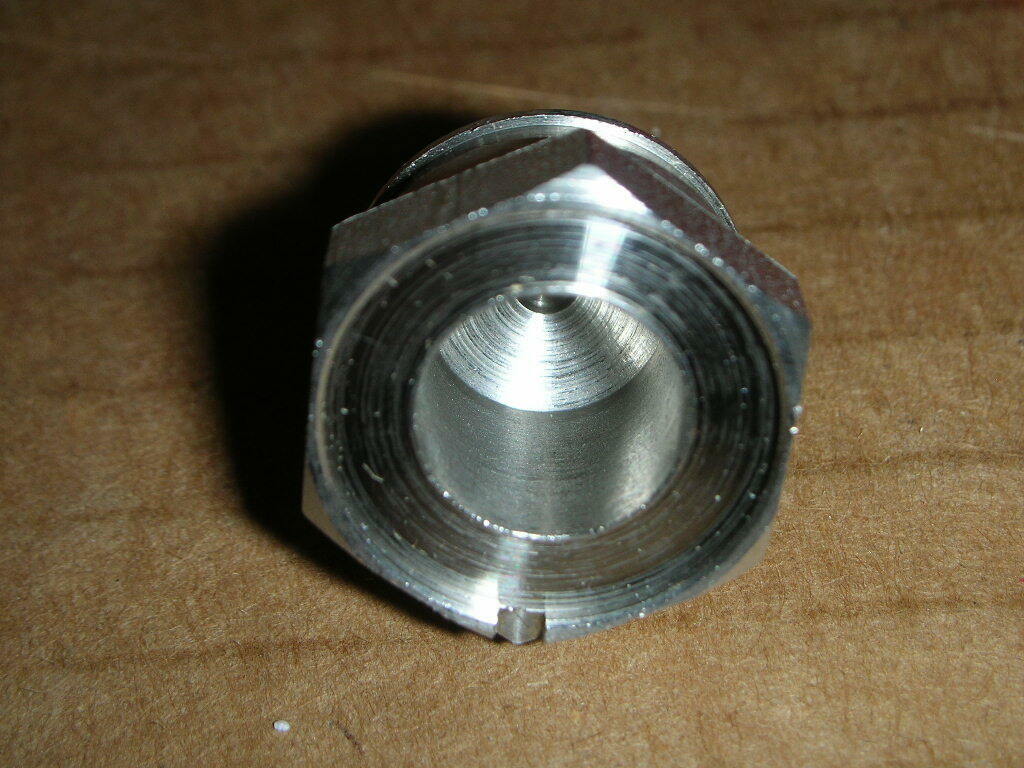
Choose from either stud mounted 8.690 (5/16" UNC) (part number 8.690 A25) or the bonded 8.685 A25 (adhesive/bonding, no bonding/glue is provided).
Code Rings are included.
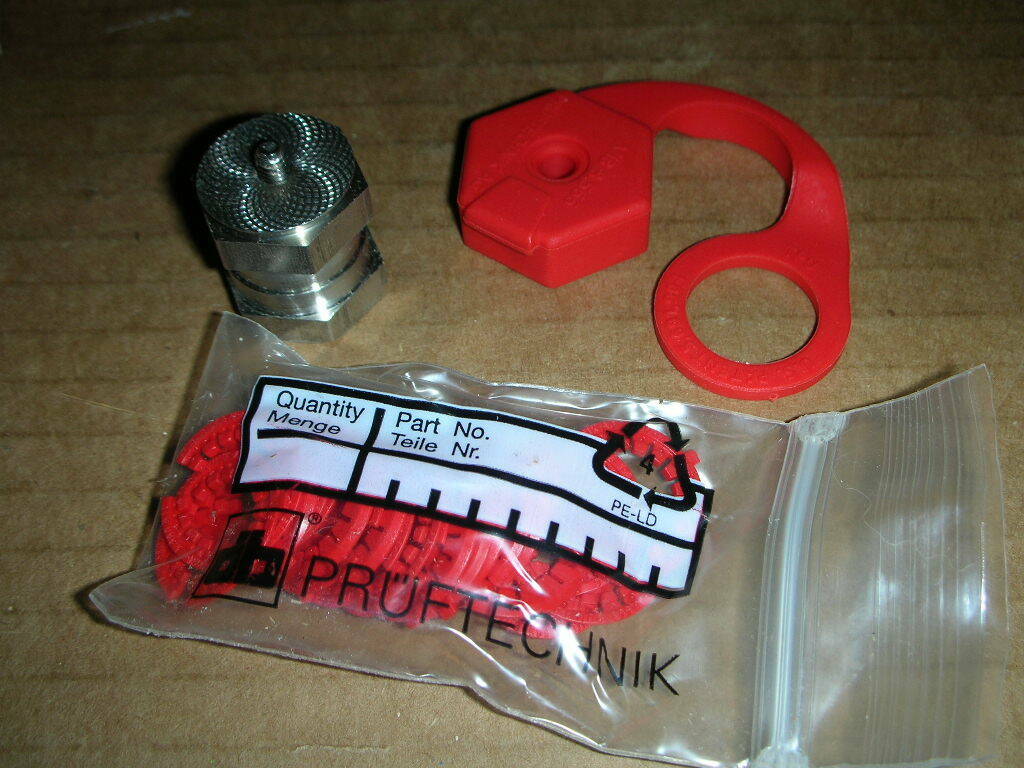
A set (assembly) consists of 1 mounting point, 1 cap and 1 Code Ring, you will receive 25 pieces of each (1-Box).
These are sold in the manufactures original packaging (box) as shown. Most of the boxes are in very good condition, the last ones sold may have a slightly distressed box for storage or handling, contents however will be perfect.
These mounting/measuring points are used with code rings (included) for Automatic measurement point identification. These are installed either by bonding (glueing) the measurement point onto the equipment that you need to test vibration levels. By using these mounting points you can be assured of accurate trend since the probe would measure the exact same spot every time which is a must for vibration trend analysis.
This listing is for TWENTY FIVE (25) Sets of Pruftechnik Vibcode Vibration Measure Points. Choose from either VIB 8.685 (Bonded) or VIB 8.690 which are provided with a
5/16" UNC stud.
Thanks for looking!!
From the manufacturer:
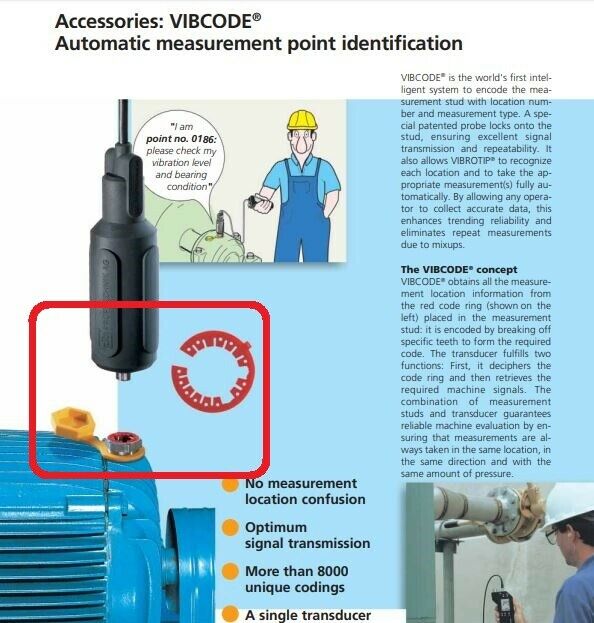
VIBCODE® is the world's first intelligent system to encode the measurement stud with location number and measurement type. A special patented probe locks onto the stud, ensuring excellent signal transmission and repeatability. It also allows VIBROTIP® to recognize each location and to take the appropriate measurement(s) fully automatically. By allowing any operator to collect accurate data, this enhances trending reliability and eliminates repeat measurements due to mixups.
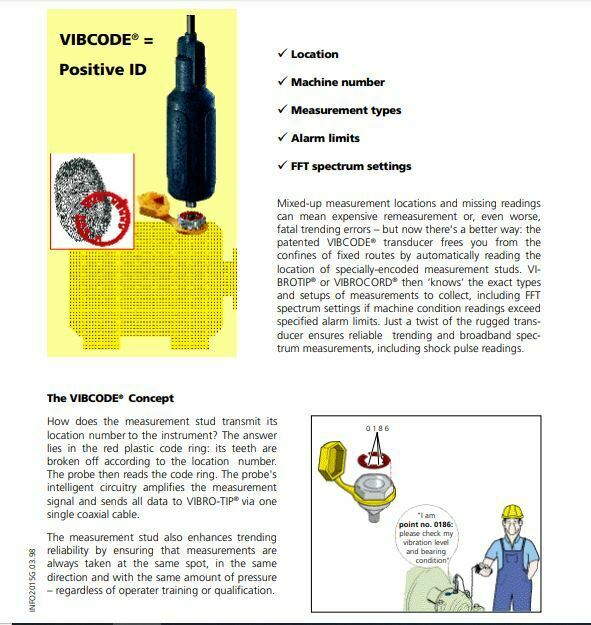
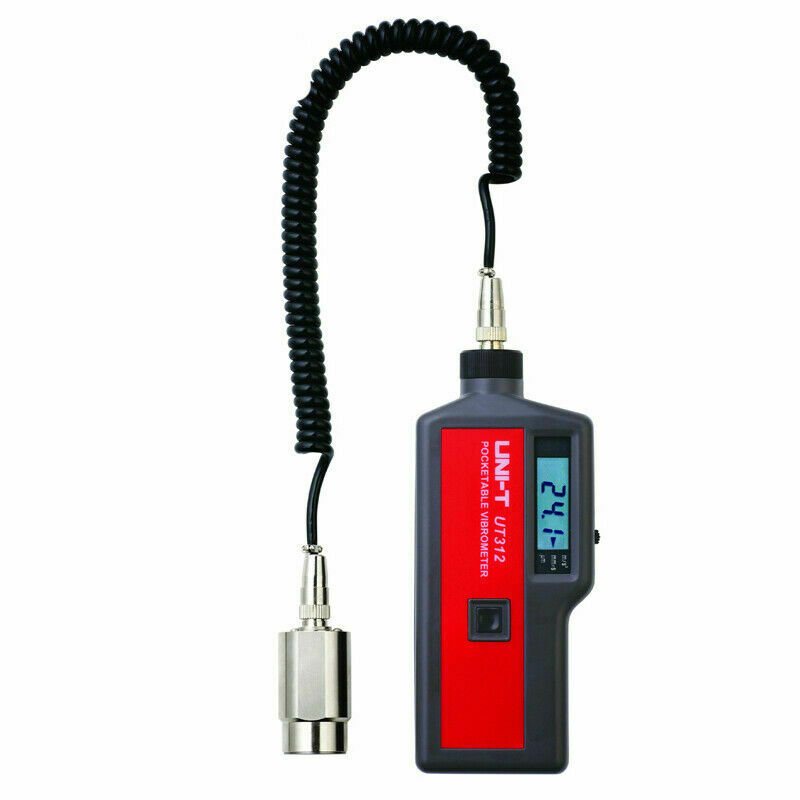
Mixed-up measurement locations and missing readings can mean expensive remeasurement or, even worse, fatal trending errors – but now there's a better way: the patented VIBCODE® transducer frees you from the confines of fixed routes by automatically reading the location of specially-encoded measurement studs. VIBROTIP® or VIBROCORD® then ‘knows’ the exact types and setups of measurements to collect, including FFT spectrum settings if machine condition readings exceed specified alarm limits. Just a twist of the rugged transducer ensures reliable trending and broadband spectrum measurements, including shock pulse readings.
The VIBCODE® Concept:
How does the measurement stud transmit its location number to the instrument? The answer lies in the red plastic code ring: its teeth are broken off according to the location number. The probe then reads the code ring. The probe's intelligent circuitry amplifies the measurement signal and sends all data to VIBRO-TIP® via one single coaxial cable. The measurement stud also enhances trending reliability by ensuring that measurements are always taken at the same spot, in the same direction and with the same amount of pressure – regardless of Operator training or qualification.
The VIBCODE® concept obtains all the measurement location information from the red code ring (shown on the left) placed in the measurement stud: it is encoded by breaking off specific teeth to form the required code. The transducer fulfills two functions: First, it deciphers the code ring and then retrieves the required machine signals. The combination of measurement studs and transducer guarantees reliable machine evaluation by ensuring that measurements are always taken in the same location, in the same direction and with the same amount of pressure

